Step 1
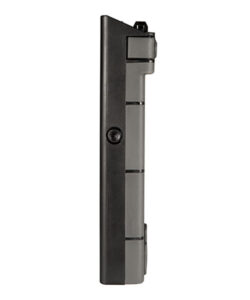
Hold down the power button located on the right side of the smart station for roughly 2 – 3 seconds.
Step 2
Upon startup, you should see the TSI logo on a white background.

Step 1
Touch the horizontal line icon in the upper left corner of the display
Step 2
Touch ‘Settings.’
Step 3
Touch Wi-Fi.
Step 4
Move the slider over to turn the WI-FI on. By default, it is off. A list of WI-FI networks should start to populate.
Step 5
Touch the Wi-Fi network you would like to connect to and enter the password.
Step 6
Touch ‘CONNECT’. Once connected, you should see the Wi-Fi icon in the upper right corner of the screen.
Step 7
Touch ‘DONE’ when finished
Step 1
First, (if not already) access the module/sensor list screen. Do so, by touching the blue computer mesh icon in the upper right corner of the display.
Step 2
To unpair modules from the smart station, touch the kebab menu icon (three vertical dots) next to the green check mark, then touch ‘Disconnect’. A confirmation at the bottom of the screen will pop-up. Touch DISCONNECT to finalize the disconnection process.
Step 1
Ensure that both the smart station and the module are powered on and are close to each other [< 2 m (6 ft)].
Step 2
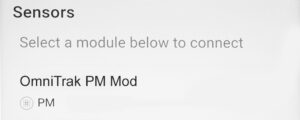
You should see a list of sensors that are within BLE (Bluetooth Low Energy) range.
NOTE
If the app states ‘No sensor modules detected’, touch REFRESH. Touch the module you would like to connect to.

Step 3
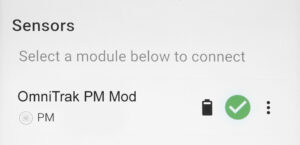
Verify that the connection was successful by confirming that a green check mark and module battery icon is present. Be patient, as this might take a few or more seconds.
Step 4
Confirm that the LED on the front of the module changed from blinking blue to blinking green (once every 5 seconds).
Step 5
Repeat the above steps to connect additional modules to the smart station. It is possible to connect up to five modules at any given time.
Step 6
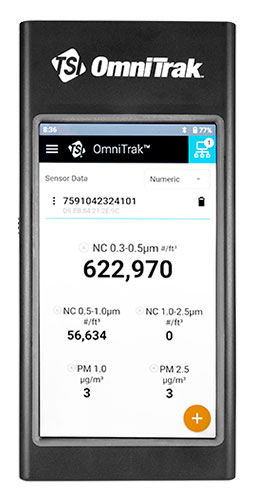
Touch DONE, when finished connecting all desired modules. If you would like to go back to the module connection screen or add another module in the future, touch the blue mesh icon (similar to a computer network icon) in the upper right corner.
NOTE
It is not possible to connect the same module to two or more smart stations at the same time.
If a module is out of BLE range for roughly ~15 minutes or greater, it will power itself off to save the battery.
Step 1
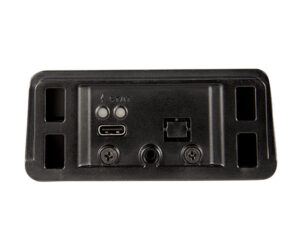
Connect the Modules to a power source. An ideal power source is 5 VDC, 2 Amp, 10 Watt. The green LED on the bottom of the module (directly above the charging port) will blink while charging. The provided USB cable can be used to make the connection. The Module can be charged in either on or off states.
Step 2
The green LED will change to solid green (not blinking) when charging is complete. The yellow LED indicates power is connected and can be ignored.
NOTE
It is recommended to charge the module when the battery life is at or below 10%, indicated by a red blinking LED located on the front. Yellow blinking LED means module battery life at or below 25%.
Step 1
Connect the Smart Station to a power source. An ideal power source is 5 VDC, 2 Amp, 10 Watt. The provided USB cable can be used to make the connection. The Smart Station can be charged in either on or off states.
NOTE
It is recommended to charge the smart station when the battery life is at or below 15%.
Step 1
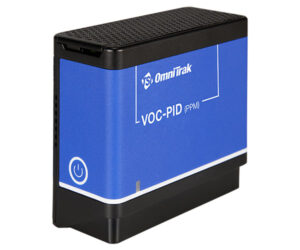
Hold down the power button located on the left side of the module for roughly 1 second.
Step 2
Confirm that the LED on the front of the module is blinking blue (roughly twice per second).
NOTE
All modules are shipped in ‘Sleep Mode’ to protect the battery during shipment and storage. It will not be possible to power on the Module, using the side button, until ‘Sleep Mode’ is disabled. To disable, plug the module into a power source and charge the module for a few minutes (see Charging Modules section). This process is required only once. Going forward the module can be powered on, using the above steps.
Step 1
Hold down the power button located on the left side of the module for roughly 5 seconds. The LED on the front of the module should blink very quick in the following sequence (green, yellow, red) indicating power is now off.

Step 1
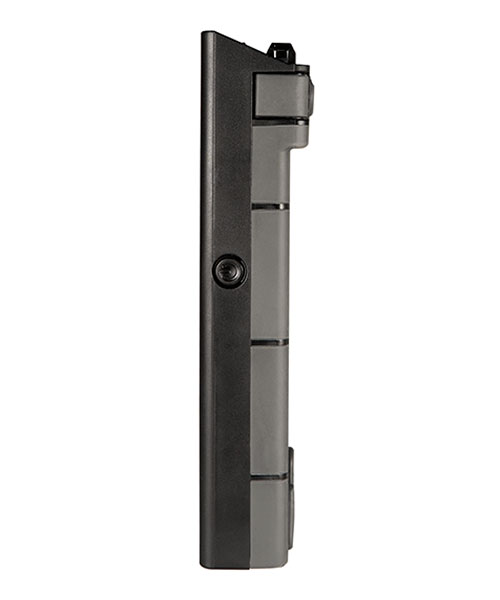
Hold down the power button located on the right side of the smart station for roughly 2 – 3 seconds.
Step 2
Touch ‘Power off’ in the upper left corner of the screen.
NOTE
If for some reason you decide you do not want to ‘Power Off’ or ‘Restart’ and would like to go to back to the previous screen, press the power button again to go into hibernation mode (blank screen) and press the power button again to exit hibernation mode.
Step 1
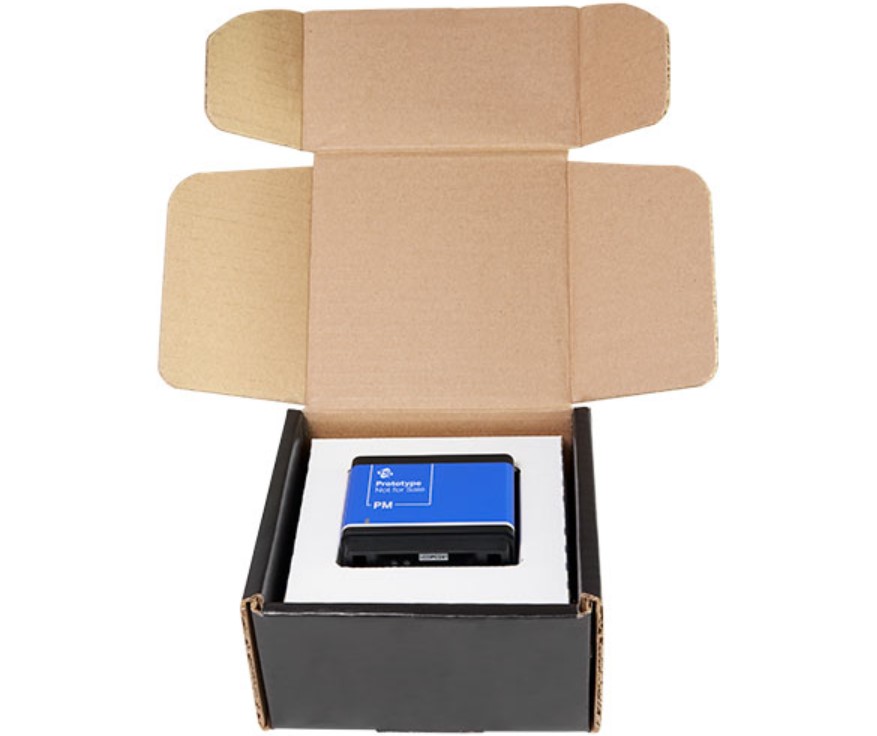
Open the module box. Inside you should see the module. Take out the module.
Step 2
Remove the inner white cardboard. Both ends of the cardboard insert open, which will provide access to the product information sheet, USB Cable, registration card and service information card.
Step 1
Open the smart station box. Inside you should see the smart station. Take out the smart station.
Step 2
Remove the inner white cardboard. Both ends of the cardboard insert open, which will provide access to the product information sheet, USB Cable, registration card and service information card.

Step 1
By default, the Smart Station time should automatically update the time when the device is connected to Wi-Fi.
Step 2
Touch the ‘DATE & TIME’ button
Step 3
To manually update the time, touch ‘Use network-provided time’.
Step 4
Touch ‘Off’. You now should be able to set the time manually.
NOTE
By default, the time zone is GMT +00:00. To adjust the time zone to your local time zone, touch ‘Region’, then select the local time zone.
Step 5
By default, the Smart Station time should automatically update the date when the device is connected to Wi-Fi. To manually update the date, touch ‘Use network-provided time’.
Step 6
Touch ‘Off’. You now should be able to set the date manually.
Step 1
To add additional measurement parameters, touch the kebab menu icon (three vertical dots) next to the module name/serial number.
NOTE
By default, the module name will be its serial number. The module can be renamed by the user if desired.
Step 2
Touch any additional parameter you would like to see live readings for (up to 5 max).
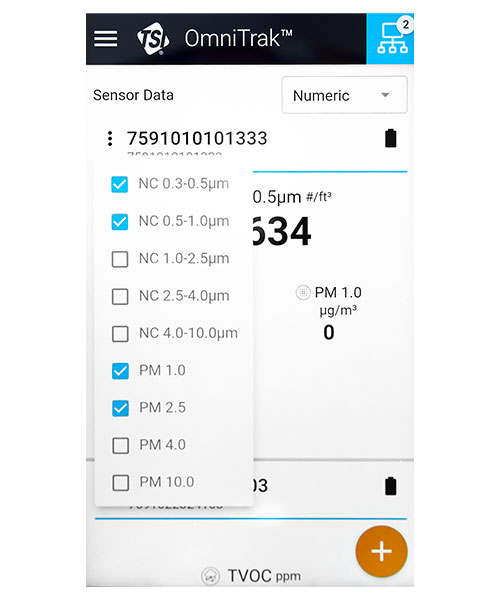
Step 3
To exit, touch outside the parameter box.
Step 1
Touch the hamburger menu icon (three horizontal lines) in the upper left corner of the display.
Step 2
Touch ‘Data Manager’. You should see a list of recorded studies.
Step 3
Touch the vertical 3 dot icon next to the study you want to export, then touch ‘Create CSV File’. You will get a pop-up stating the file was saved in a folder titled ‘Documents/TSI OmniTrak’. This folder is contained within the Smart Station’s on-board hard drive. This is where the separate CSV files are stored.
Step 4
Touch SAVE to complete the process. Two more pop-ups will appear stating the process has started and another when the files are ready. It will take longer for larger studies with more data.
Step 5
Connect the Smart Station to your PC using the provided USB cable. A windows folder should open.
Step 6
Double click on the ‘Internal Shared Folder’.
Step 7
Double click on the ‘Documents folder’.
Step 8
Double-click on the ‘TSI OmniTrak folder’. You should now have access to the files that you exported. You can delete the file after you have copied it to your PC.
NOTE
Deleting the CSV file will not delete the study that is saved in the OmniTrak application. See Deleting Saved Studies to delete saved study from the actual application.
Step 9
After you have copied the files, you can disconnect the smart station from your PC.
NOTE
If the study contains data from multiple modules, the export feature will separate the data and generate CSV files for each individual modul
Step 1
When viewing the studies in Data Manager, touch the kebab menu icon (three vertical dots) that is next to the study you would like to delete.
Step 2
Touch ‘Delete’ to delete the study data. There will be a secondary message to confirm that you actually want to delete the study. Touch the red DELETE button to finalize the process.
Step 1
When viewing the studies in Data Manager, touch the kebab menu icon (three vertical dots) that is next to the study you would like to Edit.
Step 2
Touch ‘Edit’ to edit the study data.
Step 3
After making the required changes, touch ‘SAVE’ to accept or if needed touch ‘CANCEL’ to exit.
Step 1
To record a study, touch the orange + icon in the lower right corner of the screen.
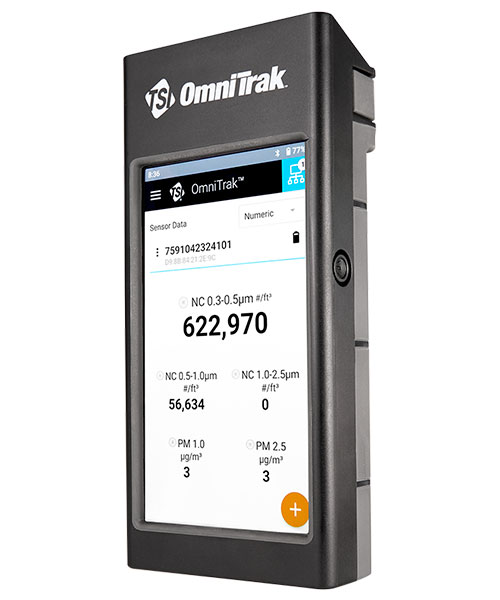
Step 2
Touch Generic Study.
Step 3a
Touch the green circle, to start the study.
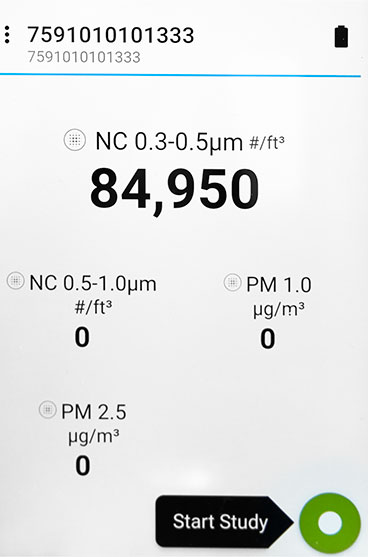
Step 3b
The green circle should change to a red circle (stop icon in the middle), indicating the device is logging measurement data.
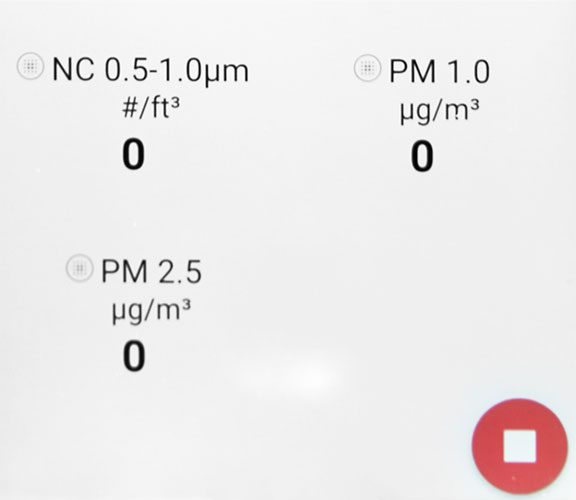
Step 4
When you are finished with your study, touch the red circle to stop. Confirm that you would like to stop recording data, by touching STOP.
Note
By default, the date and time are used as the study name. Change the name if desired and add any desired location and notes information.
Step 5
Touch SAVE, to save the study. If you cannot see the SAVE icon, scroll down to access. After touching SAVE, you will be directed back to the live measurement screen.
NOTE
The logging interval is every 1 second.
Step 1
To view a real-time Graph of the measurements, touch the pull-down menu, below the blue mesh icon, in the upper right corner of the display. Then touch Graph (both portrait and landscape are possible)
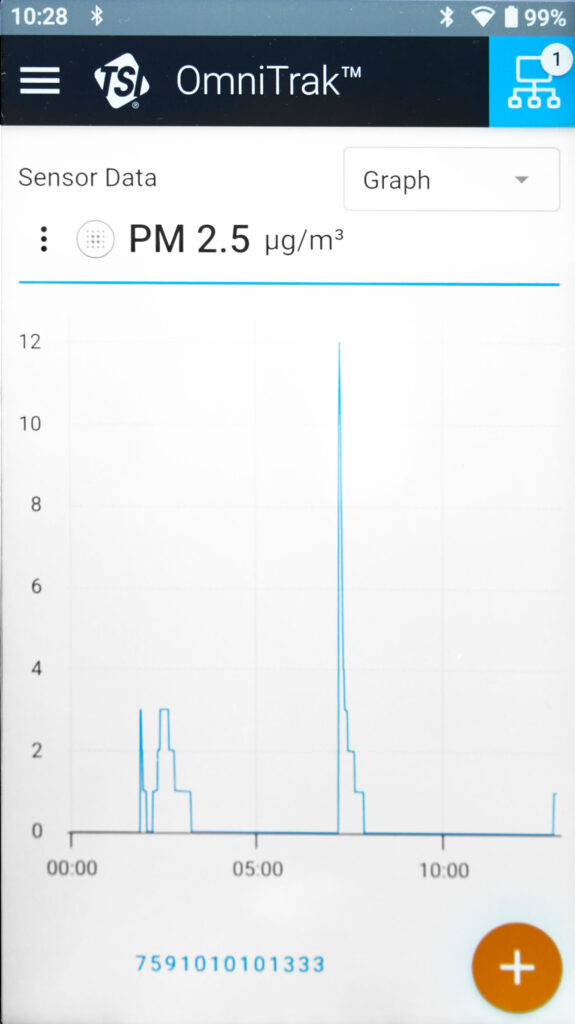
Step 1
After you have completed the steps associated with pairing a module to your smart station, you should see live measurements coming from the module. If not, make sure you are on the Sensor Data screen. To get to the sensor data screen, touch the hamburger menu icon (three horizontal lines) in the upper left corner of the screen and then touch Sensor Data.
NOTE
If no modules are connected complete the steps above.
To save on battery consumption, it is possible to put the smart station into hibernation mode. To do this, simply press the power button once to enter hibernation and then again to exit.

Step 1
Touch the hamburger menu icon (three horizontal lines) in the upper left corner of the display.
Step 2
Touch ‘Data Manager’. You should see a list of recorded studies.
Step 3
Touch the kebab menu icon (three vertical dots), then touch ‘View’ to view the study data.
Step 4
If needed, touch the kebab menu icon (three vertical dots), to change the parameter you would like to view.
Step 5
Touch the back arrow to get back to the list of studies.
NOTE
Only a graphical view of the historical data is possible.
It’s good to be in the know. Join our mailing list and let us keep you up to date on the things you want to hear about.
